The Bespoke Kitchen Design Process: From Brief to Blueprint
How does a bespoke kitchen get designed? We walk through every stage of the design process — from developing the brief and spatial analysis to 3D visualisation, technical drawings, material specification, and sign-off.
A bespoke kitchen begins as a conversation. It becomes a drawing. Then a set of drawings. Then a meticulously detailed manufacturing package. And finally — after weeks of skilled handwork in the workshop — it becomes the room where your family gathers every morning and every evening.
But between the first conversation and the first coat of paint, there is a design process that most clients never see in detail. It's the part of the journey where wishes become geometry, where references become specifications, and where the designer's pencil (or, more accurately, their cursor) translates everything you've described into something that can actually be built.
If you've read our guide to commissioning a bespoke kitchen, you'll have a sense of the overall client journey — from initial consultation through to installation and handover. This post goes deeper into one specific part of that journey: the design itself. How does it work? What happens at each stage? And what should you expect along the way?
Why the Design Phase Matters More Than You Think
In a fitted kitchen, design is essentially a selection exercise. You choose from a catalogue, adjust the layout to fit your room, and pick your finishes. The cabinetry already exists in standard sizes — the designer's job is to arrange it.
A bespoke kitchen starts from nothing. There are no standard modules, no preset dimensions, and no catalogue to browse. Every cabinet, drawer, shelf, and detail is drawn from scratch for your specific room. This makes the design phase both more important and more involved than anything you'd encounter with a high-end fitted kitchen brand.
It also makes it more rewarding. The design process is where the kitchen becomes genuinely yours — not a competent arrangement of someone else's products, but a piece of architecture that couldn't exist anywhere else.
At Albury House Kitchens, we typically allow four to eight weeks for design, depending on the complexity of the project. That might sound generous, but there's a reason we don't rush it: the quality of the finished kitchen is directly proportional to the quality of the design that precedes it.
Stage 1: Brief Development
Every bespoke kitchen design begins with a brief. Not the casual kind — not a few scribbled notes on the back of a wallpaper sample — but a structured, detailed document that captures everything the design team needs to know before putting pencil to paper.
The brief is developed through conversation, typically during one or two home visits. We're listening for three things:
How you live in the space. Who cooks? How often? Do you entertain regularly, or is the kitchen primarily a family room? Do the children do homework at the island while you prep dinner? Does the dog need a feeding station that doesn't get kicked every time someone opens the fridge? These details matter enormously, and they're the kind of thing that only emerges in conversation, not on a form.
What you want to feel. Not every client can articulate a precise aesthetic, and that's perfectly fine. Some arrive with a Pinterest board and a clear vision. Others know only that they want something warm, or calm, or dramatic. Both starting points are equally useful. Our job is to translate feeling into form.
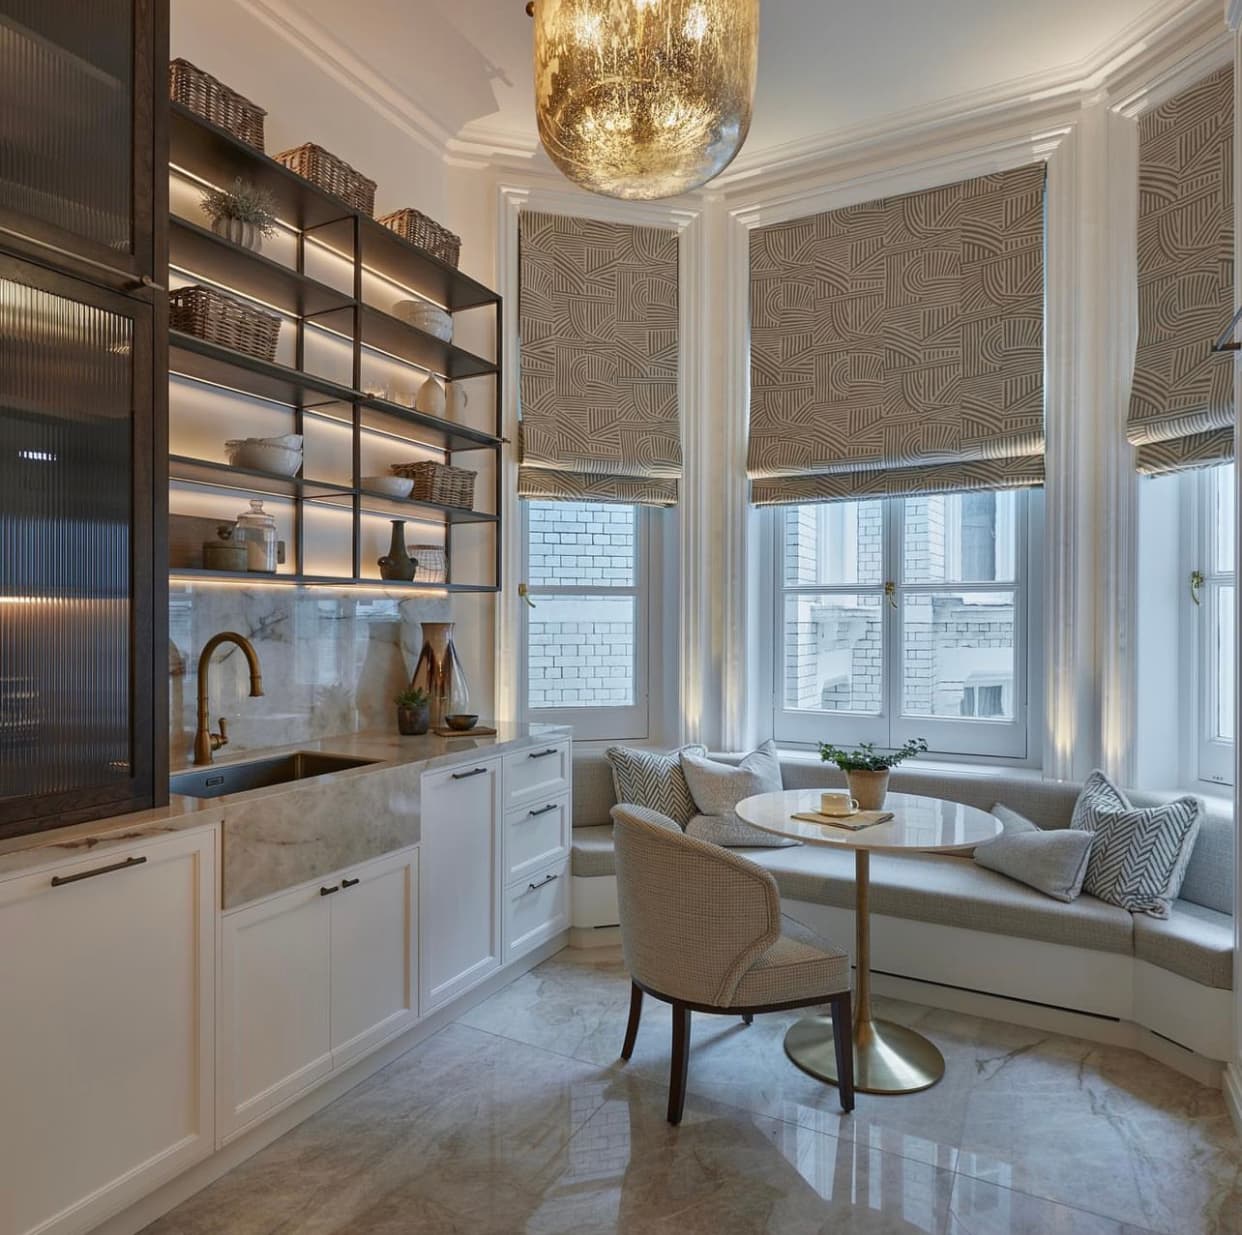
What the space demands. The architecture of the house has its own voice. A Georgian townhouse asks for something different from a converted barn, and a contemporary extension calls for a different approach again. We're looking at ceiling heights, natural light, sight lines, architectural character, and the relationship between the kitchen and the rooms around it.
By the end of this stage, we have a written brief that both parties have agreed. It covers functional requirements, aesthetic direction, budget parameters, and timeline. No drawing exists yet — and that's deliberate. Getting the brief right prevents false starts later.
Stage 2: Spatial Analysis and Survey
With the brief agreed, our next step is to understand the space in precise, measurable terms. We carry out a detailed survey of the room — walls, windows, doors, ceiling heights, floor levels, structural elements, and the exact positions of all services (water, waste, gas, electrics).
But a spatial analysis goes beyond raw measurements. We're also assessing:
- Natural light patterns — where the light falls at different times of day, and how this should influence the placement of worktops and seating areas
- Traffic flow — how people move through the room and between the kitchen and adjacent spaces
- Structural constraints — load-bearing walls, columns, beams, or period features that must be respected
- Service routes — where plumbing and electrical runs can practically go, and where they can't without significant building work
- Ventilation and extraction — the best route for ducting, particularly in period properties where external walls may be listed
If structural changes are planned — removing a wall, adding a window, lowering a floor level — we coordinate with your architect or structural engineer at this point. The kitchen design must integrate seamlessly with the wider building scheme, and it's vastly easier to resolve spatial conflicts on paper than on site.
The survey data becomes the foundation of everything that follows. Every dimension in every drawing traces back to measurements taken during this visit. A millimetre matters when you're designing cabinetry that must fit precisely between a stone mullion and a chimney breast.
Stage 3: Mood Boards and Design References
Before we begin drawing, we spend time establishing the visual language of the kitchen. This is where mood boards and design references come into play — and it's a stage that clients often find surprisingly enjoyable.
We'll compile a curated collection of images, materials, textures, and colour palettes that reflect the direction established in the brief. These might include:
- Photographs of kitchens that share the intended character (not to copy, but to calibrate)
- Finish samples — timber species, paint colours, stone options, metal patinas
- Architectural references that capture the right sense of proportion and detail
- Hardware selections — ironmongery, handles, and fittings that set the tone
- Appliance options that complement the aesthetic
The mood board serves a critical purpose: it ensures that designer and client share a common visual vocabulary before any layout work begins. When we say "contemporary Shaker," we need to know that we both picture the same thing. When you describe a worktop as "warm but not too rustic," the mood board confirms exactly what that means.
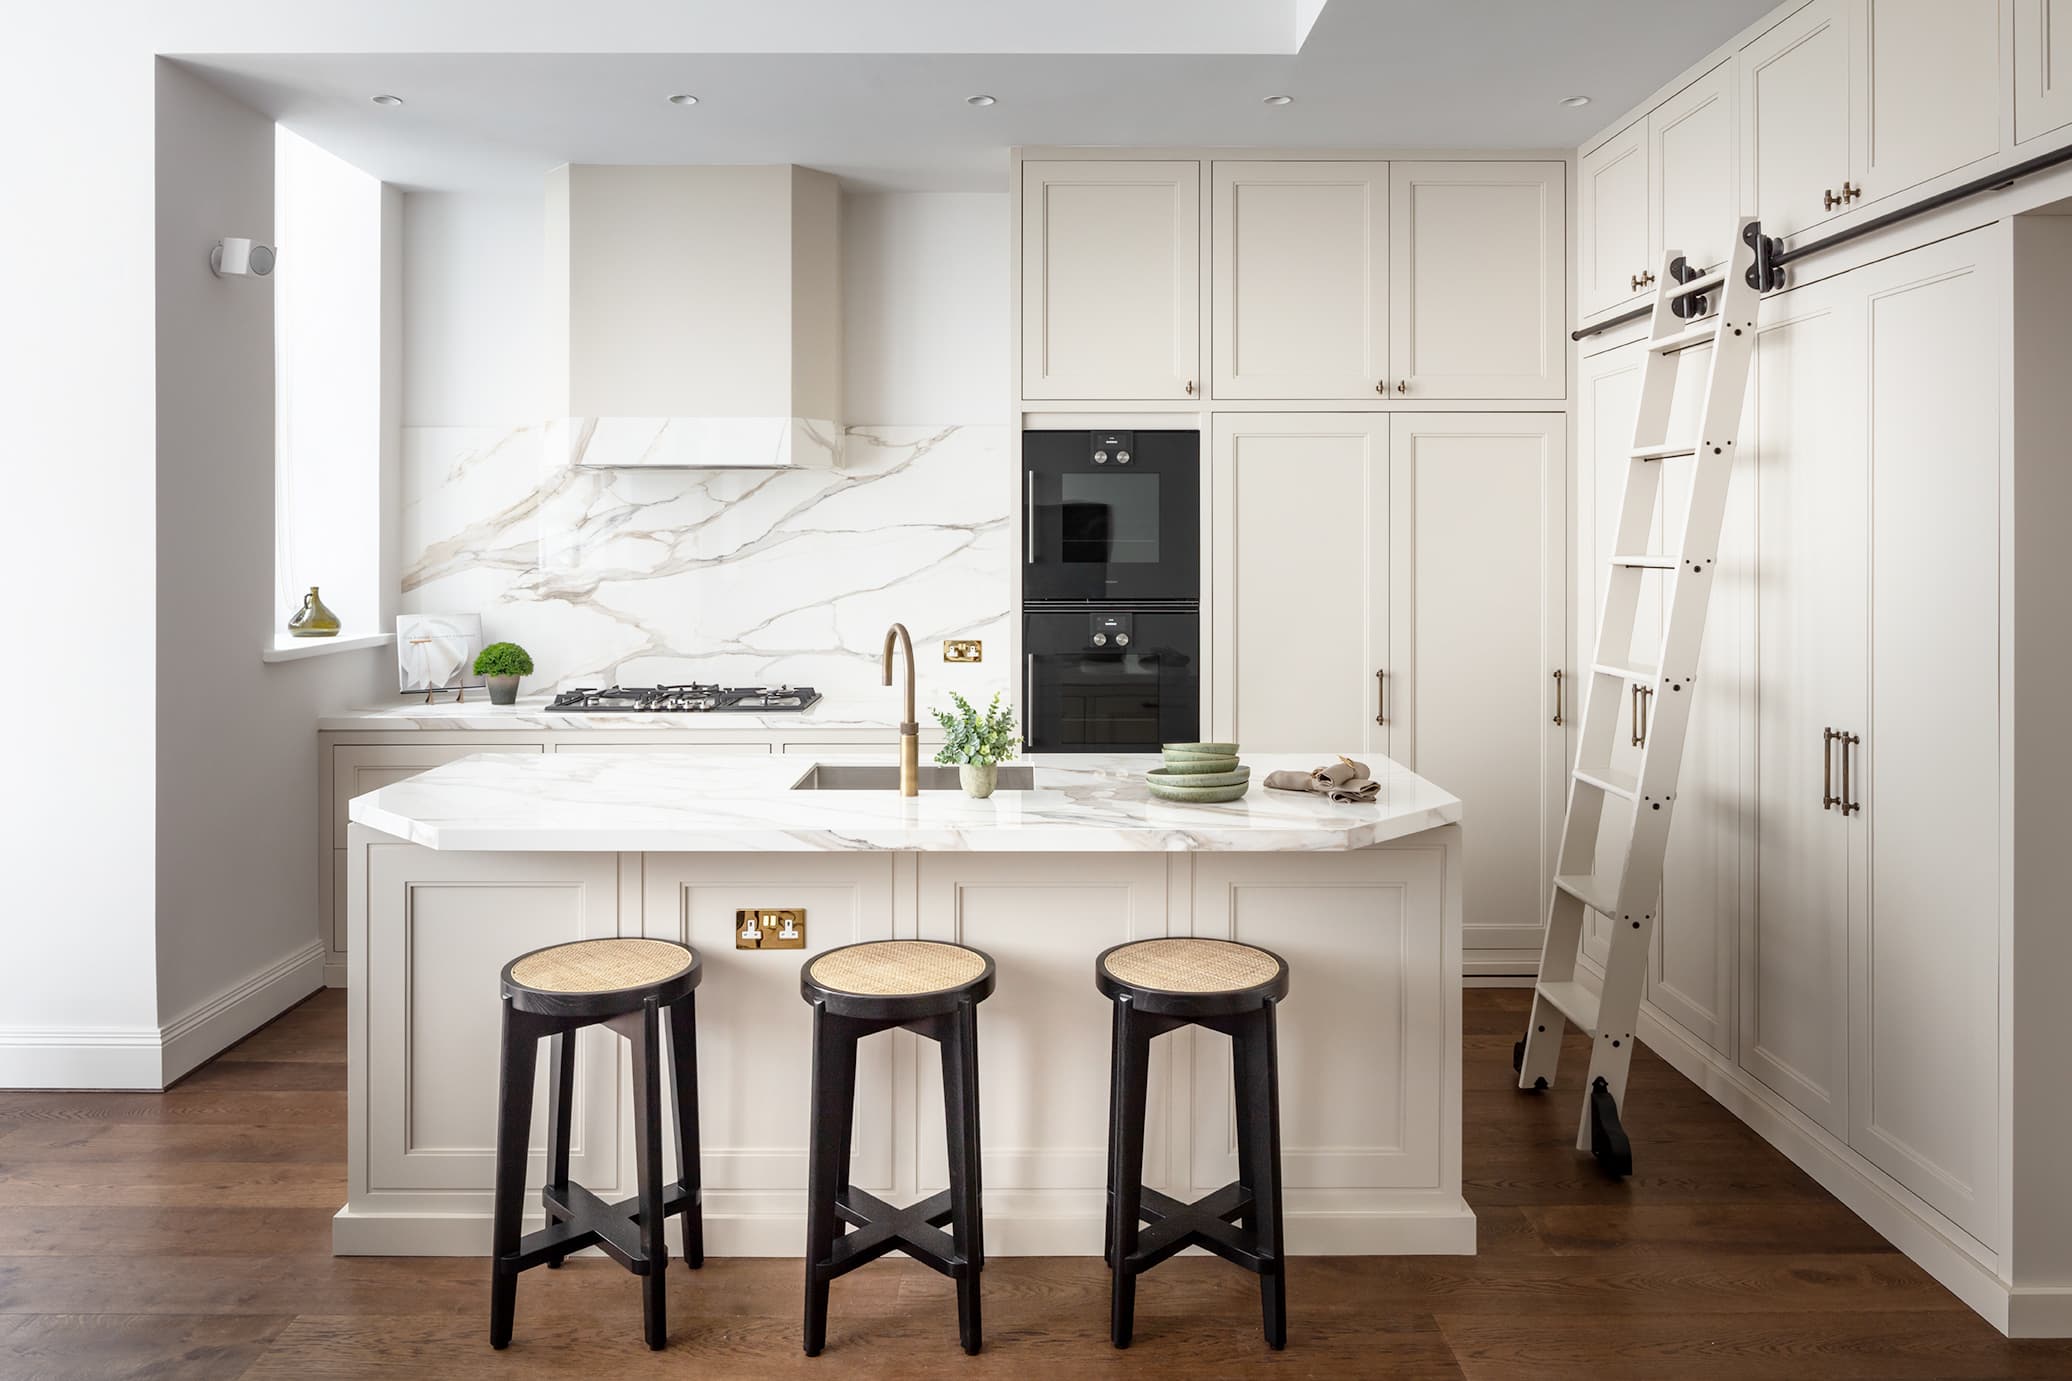
This stage also helps clients discover preferences they didn't know they had. You might arrive convinced you want white painted cabinetry, only to find that a soft putty tone or a deep forest green feels more like you once you see it in context with your flooring and natural light.
Stage 4: Concept Design and 3D Visualisation
Now the drawing begins. Using the brief, survey data, and agreed visual direction, our design team produces initial concept layouts — typically two or three options that explore different approaches to the space.
At Albury House, we present concept designs as photorealistic 3D visualisations rather than flat plans. There's a reason for this: most people find it difficult to read a floor plan and imagine themselves in the resulting room. A well-executed 3D rendering shows you the kitchen from multiple angles, with realistic materials, lighting, and proportions. You can see how high the wall cabinets sit, how deep the island is in relation to the room, and whether that open shelving actually works or just looks cluttered.
Each concept option will explore different priorities. One might maximise storage at the expense of open circulation. Another might create a generous sociable space around a larger island while accepting fewer base units. A third might integrate a pantry or utility annexe that frees the main kitchen to breathe.
We present these options in person, walking through the thinking behind each one. There is no right answer — only the right answer for how you live. Our role is to show you the trade-offs clearly and honestly so you can make an informed choice.
The Role of 3D Rendering in Bespoke Design
It's worth pausing on 3D visualisation because it has genuinely transformed the bespoke kitchen design process. A decade ago, designers relied on hand-drawn perspectives and small-scale models. Both had charm, but neither could show a client exactly what their kitchen would look like at seven o'clock on a winter evening with the under-cabinet lighting on.
Modern rendering software allows us to simulate your kitchen in photorealistic detail: the grain of the oak, the veining in the marble, the way light bounces off a hand-painted surface. We can adjust the time of day, swap in different finishes, and even show how the space will feel with the bi-fold doors open to the garden.
This isn't about showing off technology. It's about reducing uncertainty. The single greatest source of anxiety in any bespoke project is the fear that the finished result won't match the picture in your head. High-quality 3D visualisation bridges that gap more effectively than any other tool.
Stage 5: Design Development and Iteration
Once you've chosen a concept direction, we enter the most intensive phase of the design process: iterative refinement.
This is where the broad brushstrokes of the concept design are sharpened into precise, buildable detail. We work through the kitchen element by element:
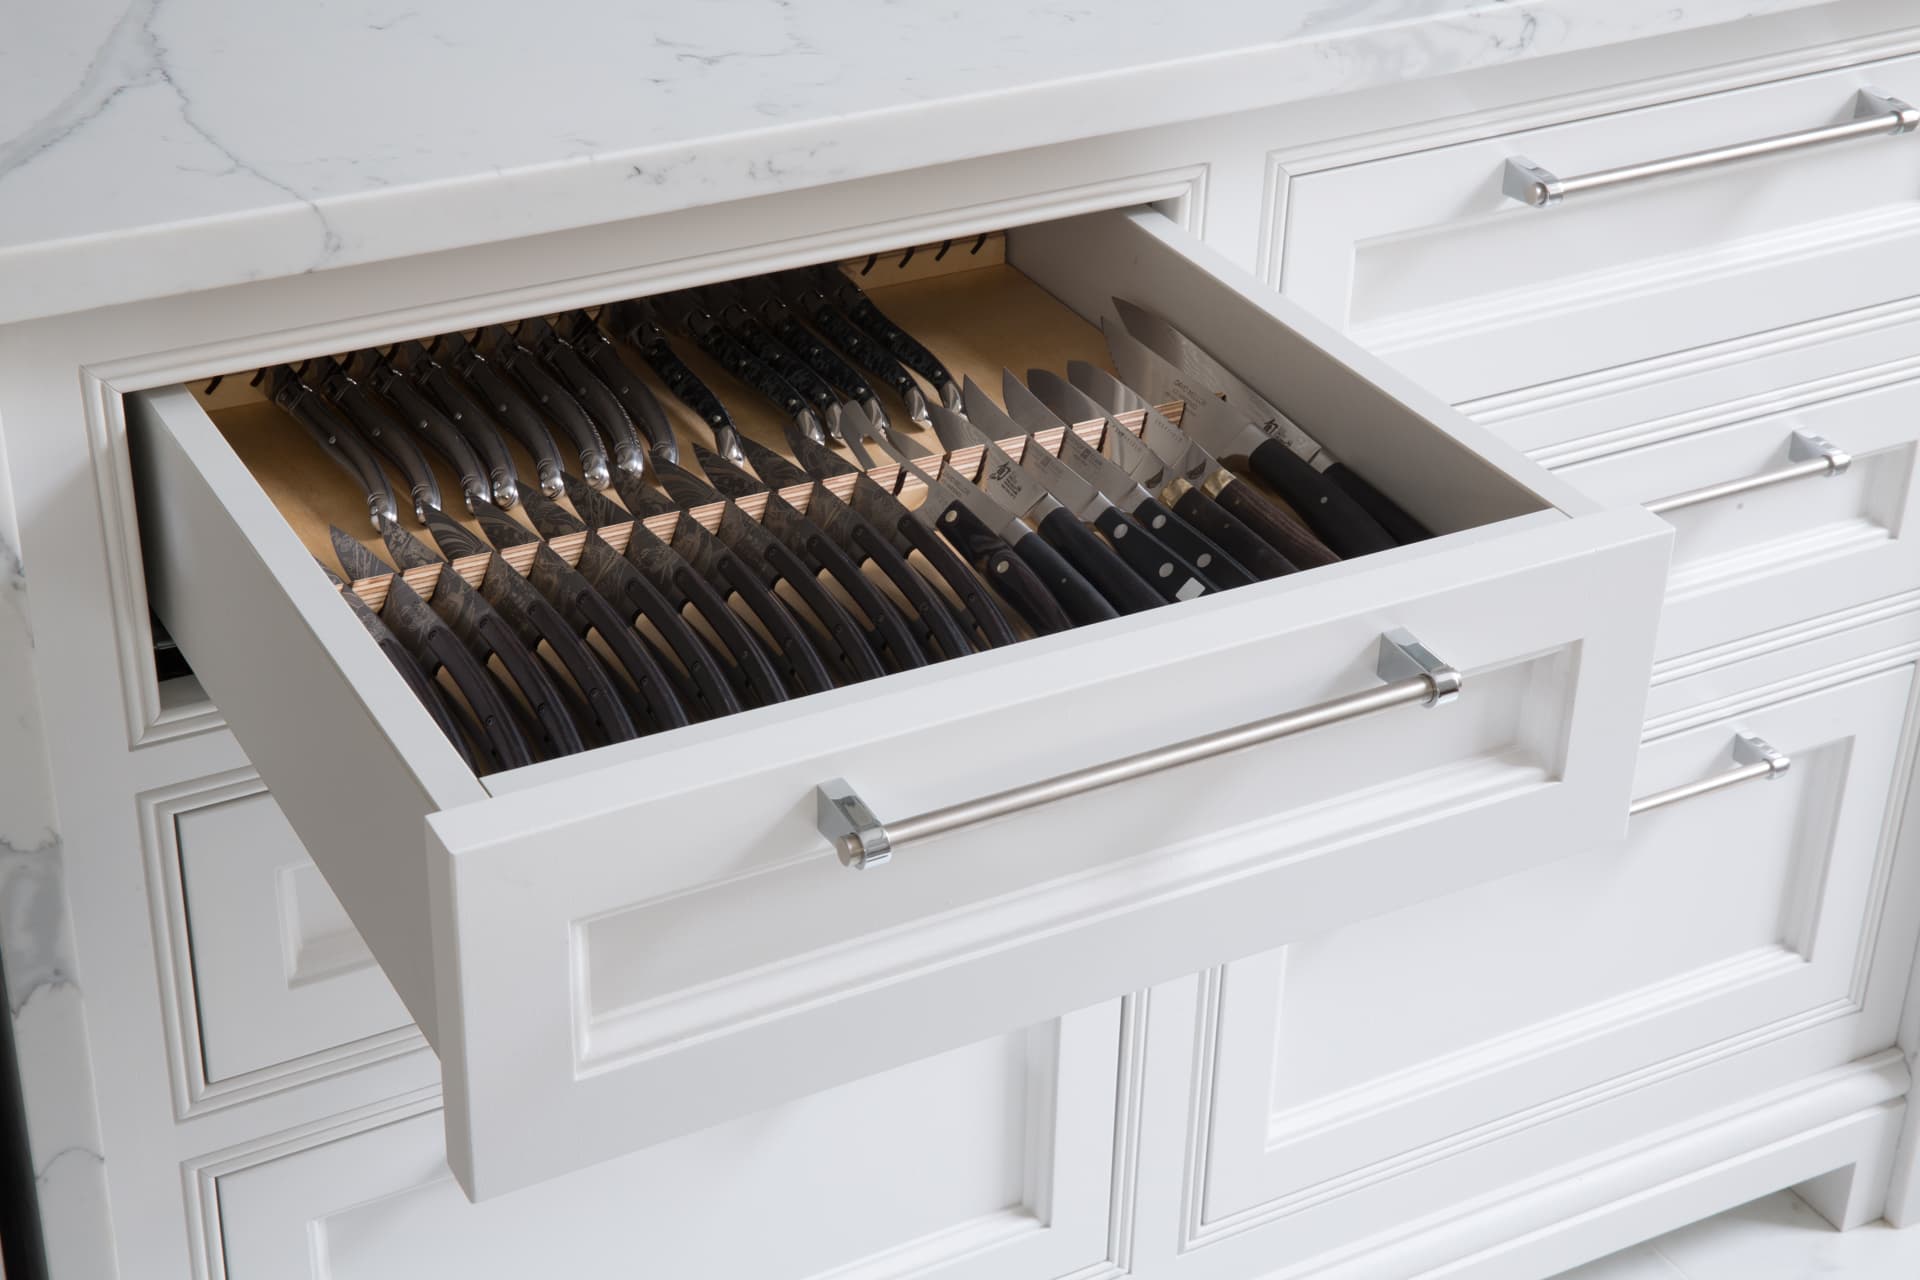
- Cabinet configuration — exact widths, heights, and depths of every unit, with internal storage solutions specified (spice drawers, plate racks, bin pullouts, pan drawers with dividers)
- Worktop layout — slab dimensions, edge profiles, drainage grooves, tap and sink cutouts, hob positioning
- Material finishes — final timber species, paint colour selections, stone slab approvals, metalwork finishes
- Hardware — handles (or handleless solutions), hinge types, drawer runner specifications, soft-close mechanisms
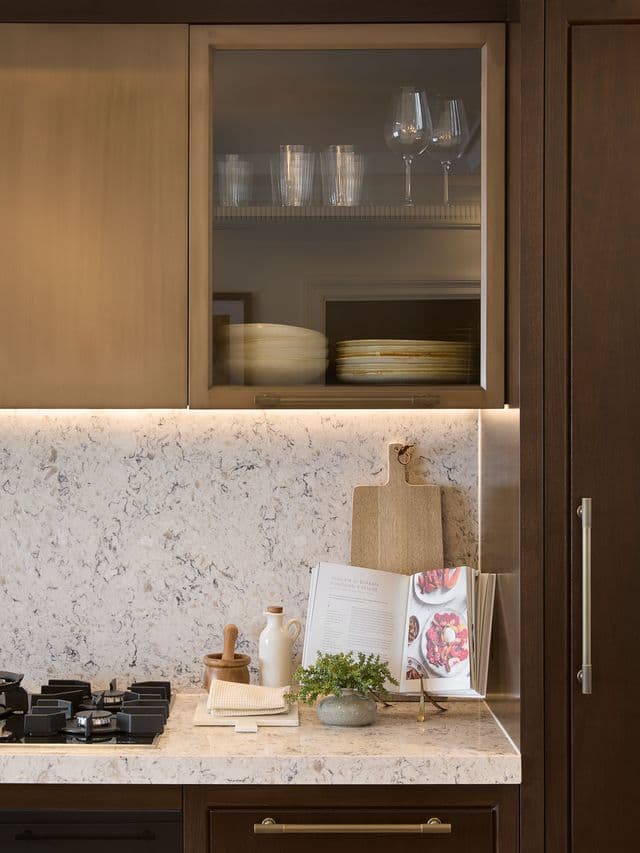
- Lighting design — under-cabinet task lighting, in-cabinet feature lighting, plinth lighting, and how these integrate with the room's broader lighting scheme
- Appliance integration — how each appliance is housed, ventilated, and accessed, with exact model numbers confirmed
This stage is iterative by nature. We typically work through two to four rounds of revision, each time presenting updated 3D visualisations alongside increasingly detailed drawings. With each round, the design becomes more precise and more personal.
How many revisions should you expect? There's no fixed number, and we certainly don't cap them. Most clients arrive at a design they're delighted with within three iterations. Some — particularly those with complex spaces or strong design opinions — prefer to explore more options, and we're entirely happy to accommodate that. The design phase continues until you're satisfied. Rushing to sign-off is false economy when the result needs to last thirty years.
Stage 6: Technical Drawing and Specification
When the design is agreed in principle, we produce the technical drawings. These are the engineering documents that translate the beautiful 3D images into something the workshop can build.
A full set of technical drawings for a bespoke kitchen typically includes:
- Floor plan — the view from above, showing the layout of all units, appliances, and services
- Elevation drawings — front-on views of each wall run, fully dimensioned, showing cabinet heights, worktop levels, and splashback areas
- Section drawings — cross-cuts through the kitchen showing internal construction, material thicknesses, and how different elements meet
- Detail drawings — close-up views of bespoke elements such as curved units, mantel details, pilaster mouldings, or specialist storage solutions
- Services layout — positions for all plumbing, electrical, and ventilation connections
- Worktop template — precise dimensions for stone or timber worktop fabrication
Every dimension is specified to the millimetre. Every material is called out. Every junction — where one material meets another, where a cabinet meets a wall, where a cornice meets a ceiling — is drawn and detailed.
Reading Technical Drawings as a Client
You don't need to be an architect to commission a bespoke kitchen, and you certainly don't need to be fluent in technical drawing. But we find that many clients enjoy understanding what they're looking at, so we always walk through the drawings in person.
The key things to look for are straightforward: overall dimensions match what you've agreed, worktop heights feel right for your stature, appliances are positioned where you want them, and any bespoke details (that curved end panel, the integrated breakfast bar, the wine storage alcove) are accurately represented.
If anything looks different from what you expected, this is the moment to say so. Changes at drawing stage are straightforward. Changes once timber has been cut are considerably less so.
Stage 7: Material Specification and Samples
Alongside the technical drawings, we produce a detailed material specification. This document lists every material, finish, and component that will be used in your kitchen — from the timber species for the carcasses to the exact paint colour reference for the island.
But a specification is only as useful as the samples that accompany it. We provide physical samples of all key materials so you can see and touch them in your own home, under your own lighting conditions:
- Timber samples — showing the grain, colour, and character of each wood species
- Paint samples — sprayed onto the actual timber to show the true colour and finish quality
- Stone samples — offcuts from the quarry or supplier, ideally from the slab allocated to your project
- Hardware samples — handles, knobs, and catches to test the weight, feel, and finish
- Metalwork samples — if the design includes brass, bronze, zinc, or stainless steel elements
Reviewing samples at home is important because materials behave differently under different lighting. A marble that looks cool and sophisticated under showroom spotlights may appear warmer and more characterful in a north-facing kitchen with lower ceilings. A paint colour chosen from a fan deck can shift noticeably when applied to timber and placed against your existing flooring.
We encourage clients to live with samples for a few days before confirming. There's no rush, and the difference between the right shade and the nearly-right shade is the difference between a kitchen that feels effortlessly beautiful and one that always slightly bothers you.
Stage 8: Design Sign-Off
Design sign-off is the formal moment when the design is frozen and the project moves from studio to workshop. It's a significant milestone, and we treat it with appropriate gravity.
At sign-off, we review together:
- The final 3D visualisations — confirming the kitchen looks exactly as you expect
- The complete technical drawing set — confirming every dimension and detail
- The material specification — confirming every finish, colour, and component
- The project cost — confirming the final price against the agreed quotation
You'll receive a bound copy of the entire design package: drawings, specifications, and visualisations. This is your record of what was agreed, and it's the document the workshop will build from.
After sign-off, the design is locked. Minor adjustments to paint colours or hardware can usually be accommodated during early manufacture, but structural changes — moving a cabinet, changing an appliance housing, altering a worktop layout — become progressively more difficult and costly once timber is being cut.
This is precisely why we invest so much time and care in the design phase. The goal is to reach sign-off with absolute confidence that nothing needs to change.
The Handover to Manufacture
The transition from design to manufacture is not simply a matter of handing drawings to the workshop. At Albury House, the design team and the workshop team sit down together for a formal handover meeting.
During this meeting, the lead designer walks the workshop through every aspect of the project: the design intent, the material choices, any unusual details or junctions, and any elements that require particular care in construction. The workshop team asks questions, identifies any practical challenges, and confirms the manufacturing sequence.
This handover meeting is one of the advantages of being a workshop-based manufacturer rather than a design studio that outsources production. When the person who drew the kitchen can explain it face-to-face to the person who'll build it, the risk of miscommunication drops to nearly zero.
From this point, the workshop produces a cutting schedule, orders materials, and begins construction. The design team remains involved throughout manufacture — reviewing progress, answering questions, and ensuring the finished cabinetry matches the design intent.
What Makes a Good Bespoke Kitchen Designer?
Having walked through the process, it's worth reflecting on what separates a good bespoke kitchen designer from a merely competent one.
Technical skill is a given — any qualified designer can produce a functional layout that ticks the obvious boxes. What distinguishes the best designers is something harder to teach: the ability to listen carefully, to interpret what a client means rather than merely what they say, and to propose solutions that the client hadn't imagined but instantly recognises as right.
A good designer also knows when to push and when to yield. If a client's heart is set on a material that won't perform well in the intended application, a good designer says so clearly and suggests alternatives. If a client is hesitating between two options that are both excellent, a good designer gives an honest opinion and then respects the client's choice.
At Albury House, our designers have deep knowledge of both design and construction. They understand not just how a kitchen should look, but how it will be built, how the materials will behave over time, and how the design decisions made on screen will translate into joinery on the bench. That dual fluency — in aesthetics and craft — is what makes the bespoke design process work.
Starting Your Own Design Journey
The bespoke kitchen design process is more involved than choosing from a catalogue, but it's also incomparably more satisfying. You'll end up with a kitchen that fits your space to the millimetre, reflects your tastes precisely, and has been thought through with a level of care that mass production simply cannot match.
If you're considering a bespoke kitchen and want to understand how the design process works in practice, we're always happy to talk. Our services page outlines what we offer, and a conversation carries no obligation whatsoever.
Get in touch to start the conversation — we'd genuinely enjoy hearing about your project.
Frequently Asked Questions
Thinking about a new kitchen?
Book Your Free ConsultationYou might also enjoy
Commissioning a Bespoke Kitchen: The Complete Guide
Everything you need to know about the bespoke kitchen design process — from first consultation to final installation. A transparent guide from the craftspeople who build them.
Bespoke Kitchen Cabinets: The Definitive Guide to Handmade Cabinetry
Everything you need to know about bespoke kitchen cabinets — from construction methods and timber selection to door styles, finishes, and the details that distinguish genuine craftsmanship from the merely expensive.
Bespoke Kitchen Joinery: The Craft Behind Cabinets That Last Generations
A detailed guide to the joinery techniques used in bespoke kitchen craftsmanship — from dovetail drawers and mortise-and-tenon frames to tongue and groove panels. Learn how to recognise quality joinery and why it determines how long your kitchen will last.